
Summer Tsukemono 漬物 and the Science of Gut Health.
By Hiroko Shimbo Beitchman
July 3, 2026
Nukazuke
Tsukemono—Japanese pickled vegetables—is inherently seasonal, its character shaped by temperature, humidity, and the shifting behavior of microbes. Historically, tsukemono reflects Japan’s long effort to manage aerobic and anaerobic bacteria and molds. Early seawater pickles often spoiled because the salinity was too low to suppress salt‑tolerant microbes.
The tsukemono‑japan.org webpage notes that the Engishiki 延喜式—a government procedural code completed in 927—records 49 varieties of tsukemono: 14 in spring and 35 in autumn, and none in summer, underscoring the difficulty of hot‑weather fermentation. Salt, hishio (precursor of shoyu and miso), and doburoku (precursor of sake) served as early pickling media.


Some Pickle History
During the Edo period (1600–1868), tsukemono had become part of everyday cuisine. In 1836, the Odawaraya pickle shop published Shiki Tsukemono Shio‑kagen 四季漬け物塩嘉言, which detailed 64 seasonal recipes and emphasized precise salting for safety. A high‑resolution scan of the Edo‑period text is available through the Open Educational Contents Archive of Tokyo Gakugei University. Many of these pickles, including summer varieties, remain staples today.
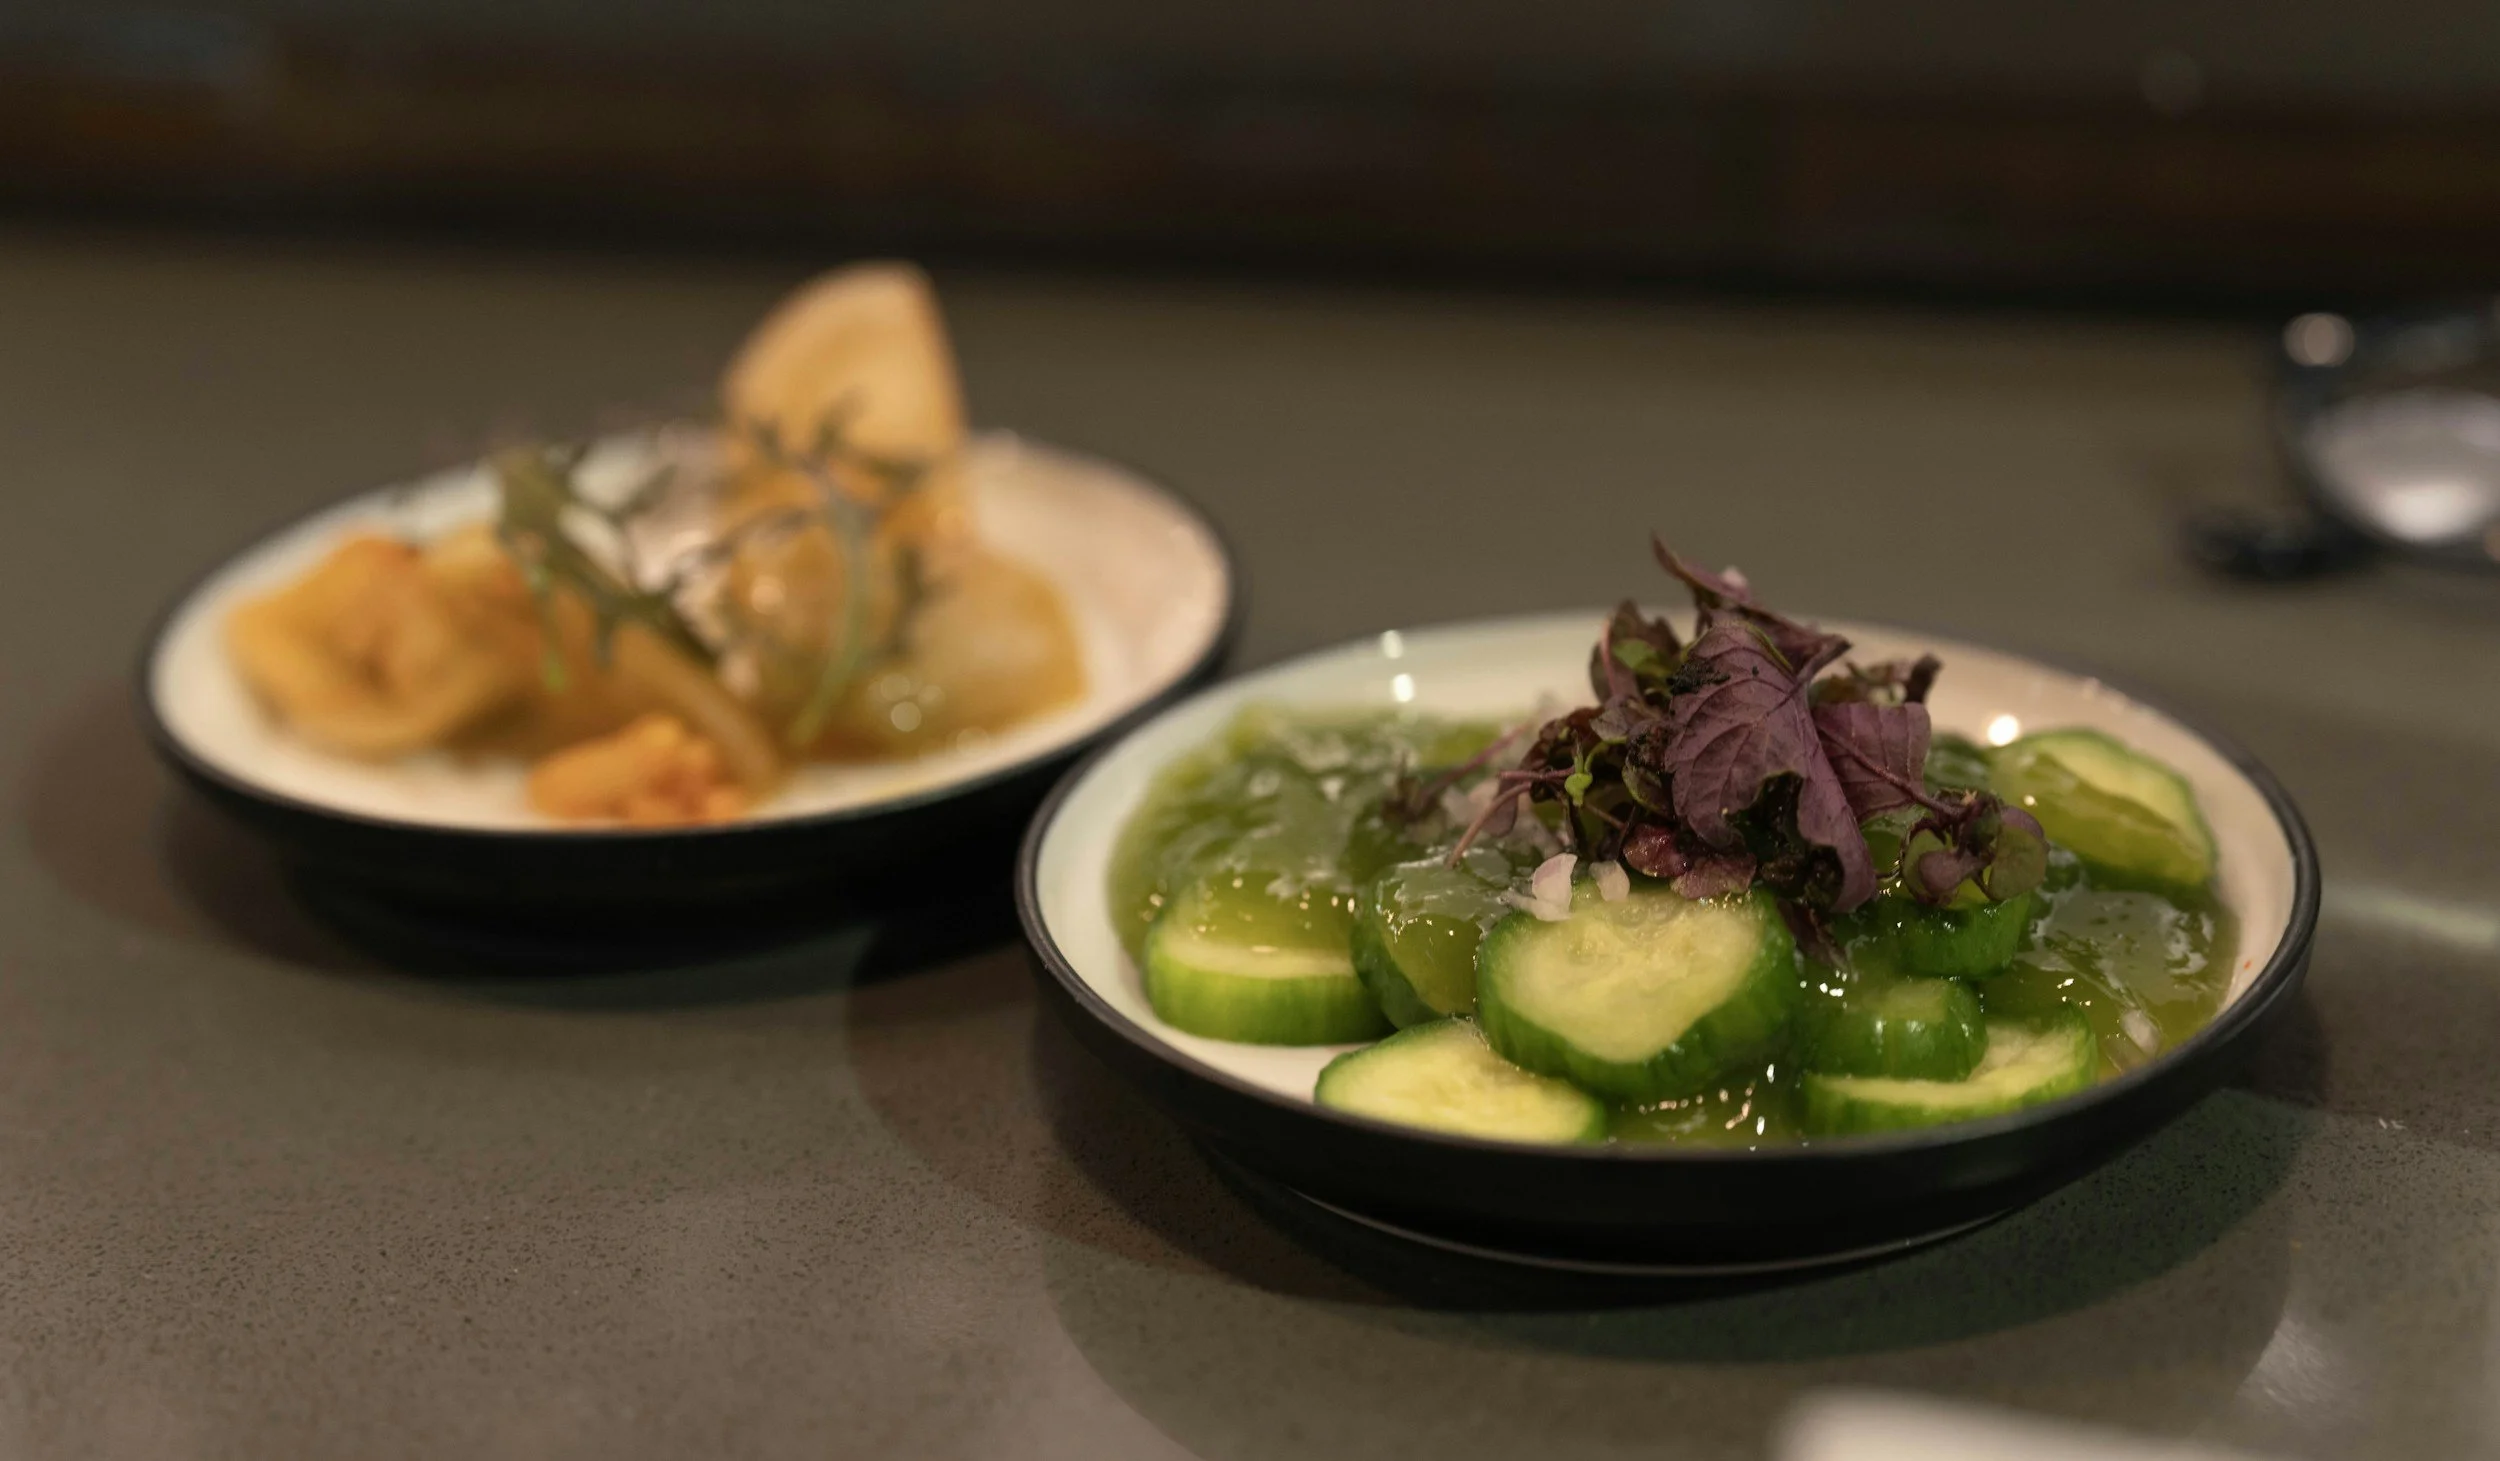
Asazuke pickles

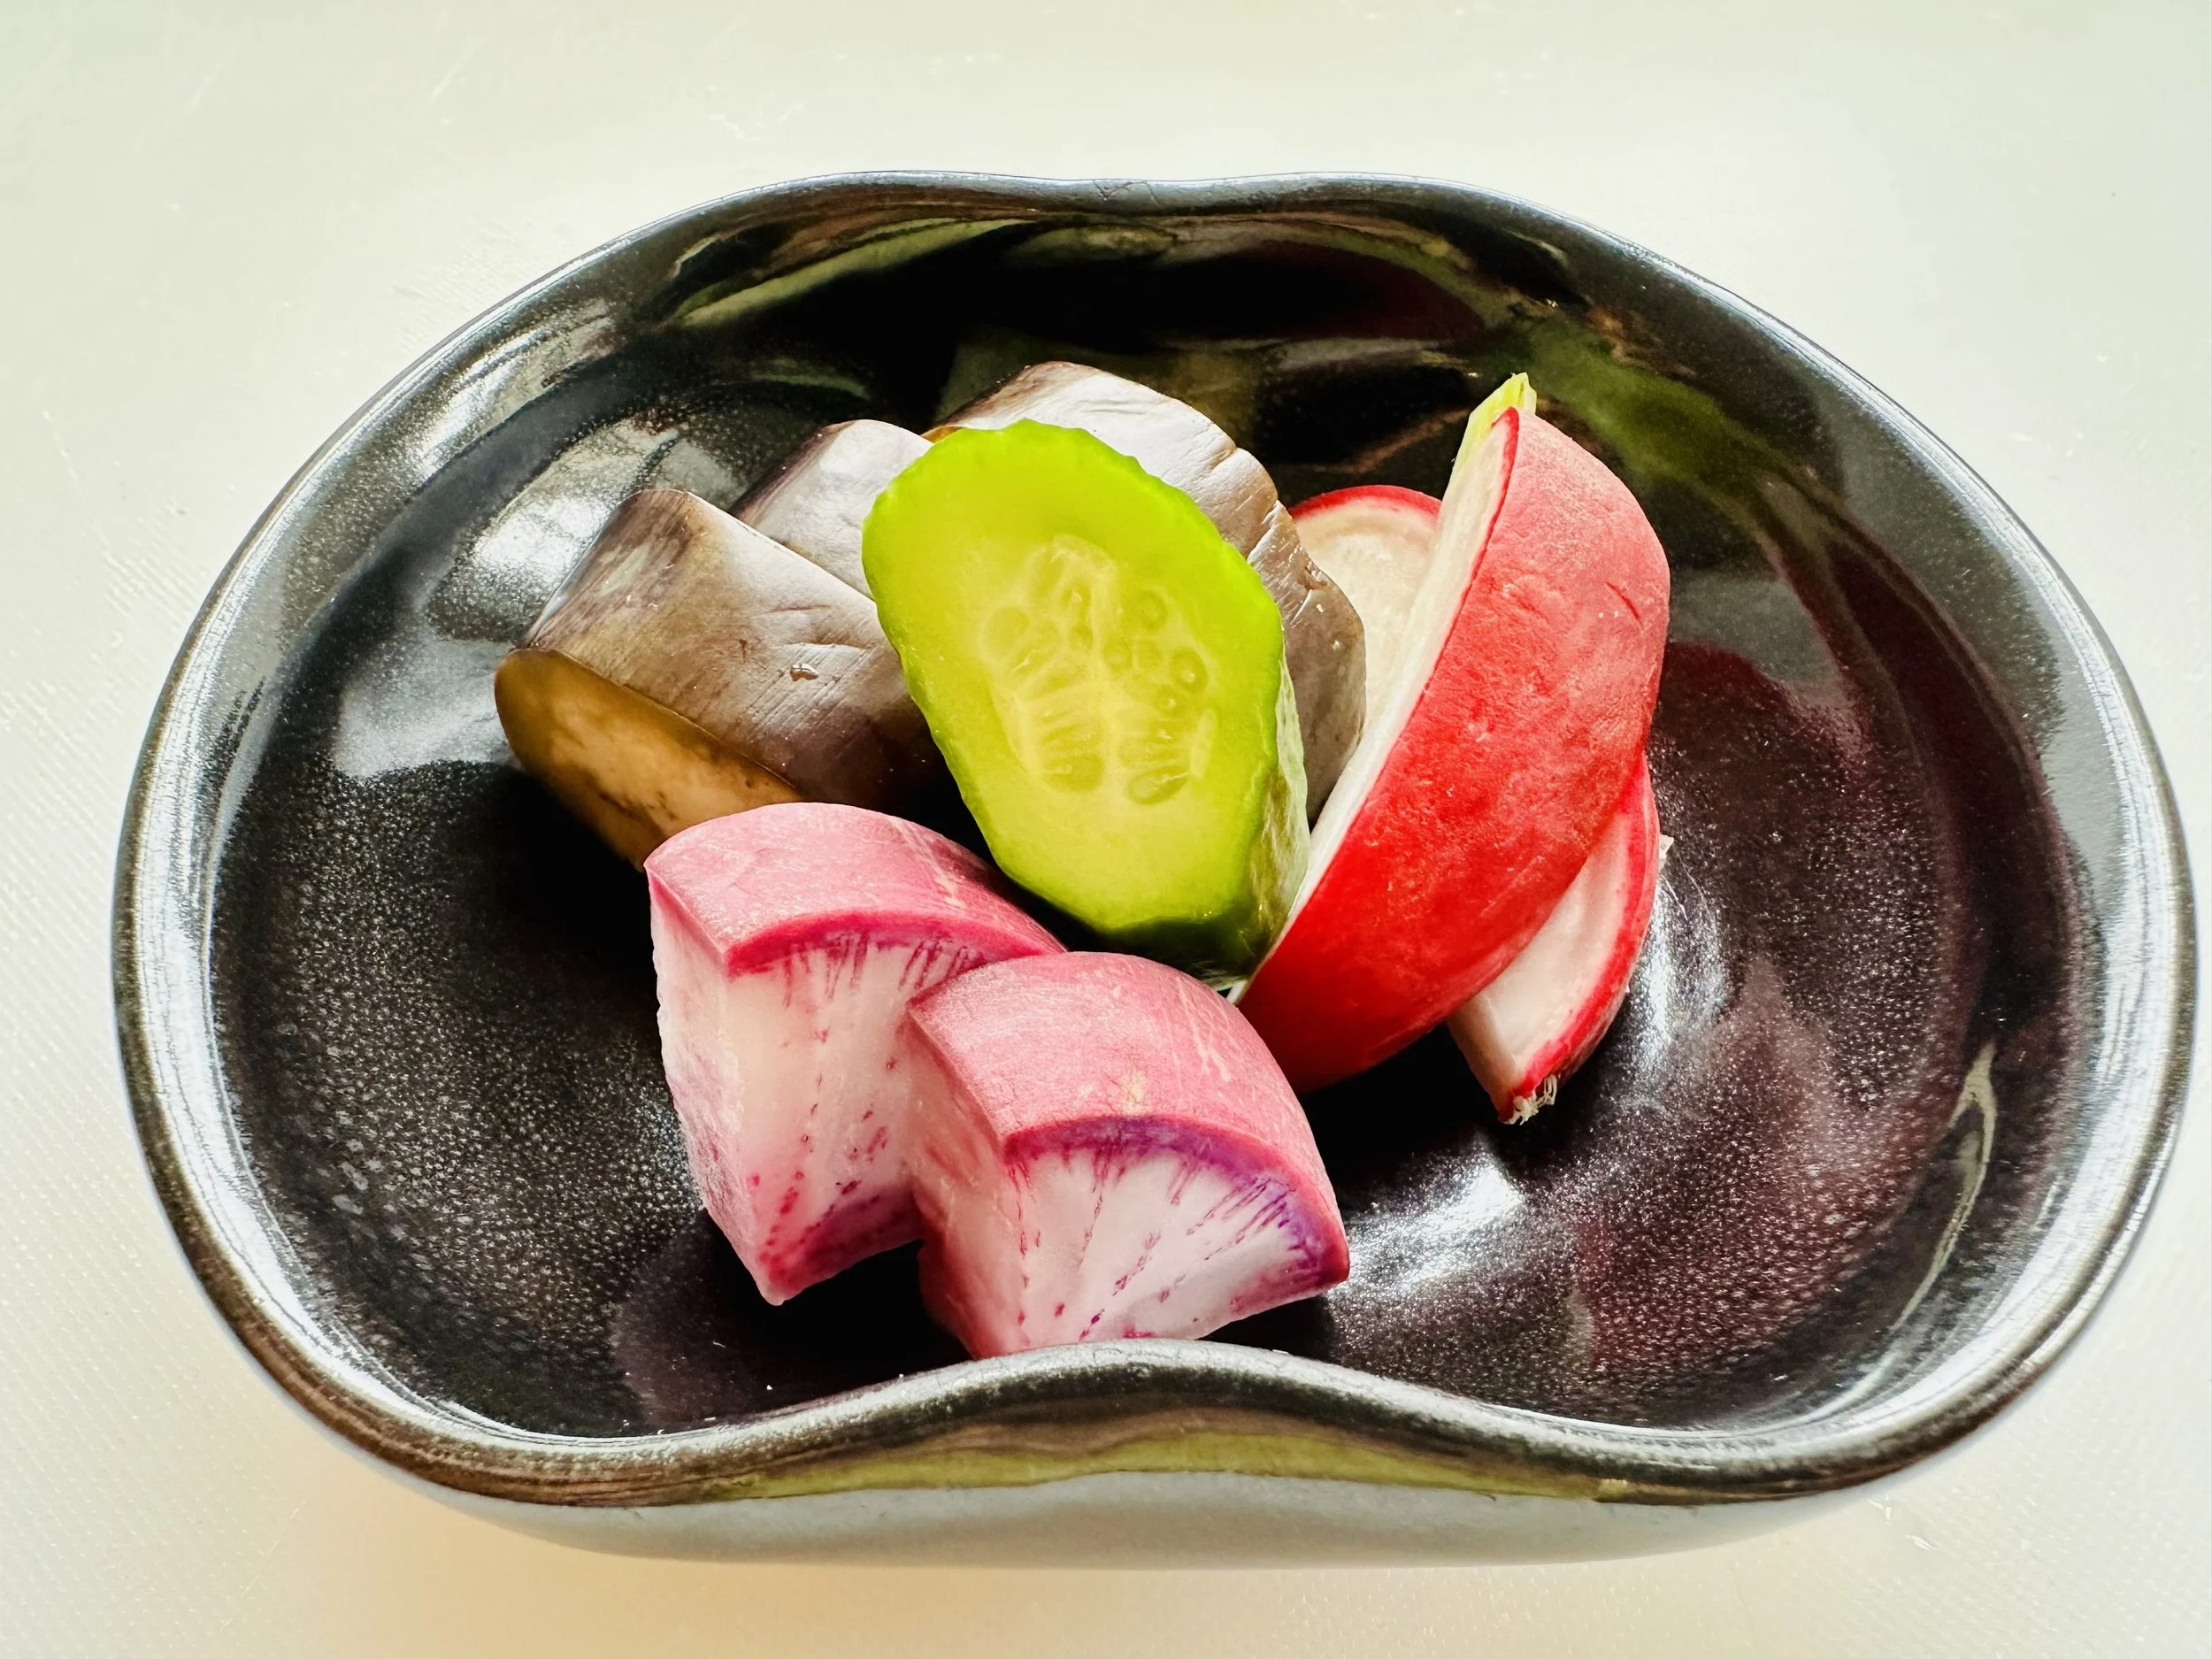
Nukazuke pickles
Summer Pickles: Asazuke and Nukazuke
There are two principal types of summer pickles—asazuke and nukazuke—both quick pickles meant to be eaten within hours. Asazuke 浅漬け is the simplest form: excess moisture is removed from sliced summer vegetables, which are then seasoned lightly with salt or vinegar. Nukazuke 糠漬け follows a completely different process. Vegetables are pickled in an already prepared, fermented rice‑bran bed. The National Library of Medicine introduction describes nukadoko as “a fermented rice bran bed,” noting that “the abundance of nutrients in nukazuke has been attracting attention. In particular, it contains vitamins, notably vitamin B1, at higher concentrations than in fresh vegetables.”
Nukadoko is inhabited by diverse microorganisms, particularly lactic acid bacteria (LAB) and yeast. Fermentation scholar Takeo Koizumi emphasizes that “about 10 billion microorganisms live in just one teaspoon (1–2 g) of nukadoko,” highlighting the extraordinary microbial density of this traditional pickling bed. Consuming vegetables pickled in nukadoko helps maintain healthy intestinal microflora and supports overall health during hot summer months.
A well‑known nukazuke fact: a cucumber gains 5–9 times more vitamin B1, and its vitamin C, Vitamin K, and potassium increase 1.5-3 times. The cucumber also absorbs dietary fiber, and the lactic acid bacteria function as probiotics, reshaping the vegetable’s microbiome.
Make your Own Nukadoko
This summer, start your own nukadoko—a living pickling bed. The main microbes, especially lactic acid bacteria and yeast, become highly active at 77–86°F, transforming fresh vegetables into crunchy, salty, umami‑rich, nutrient‑dense bites within several hours. Here is the nukadoko recipe.
Let its living culture guide you into a season of deeper flavor, daily nourishment, and a body that feels more protected and resilient.
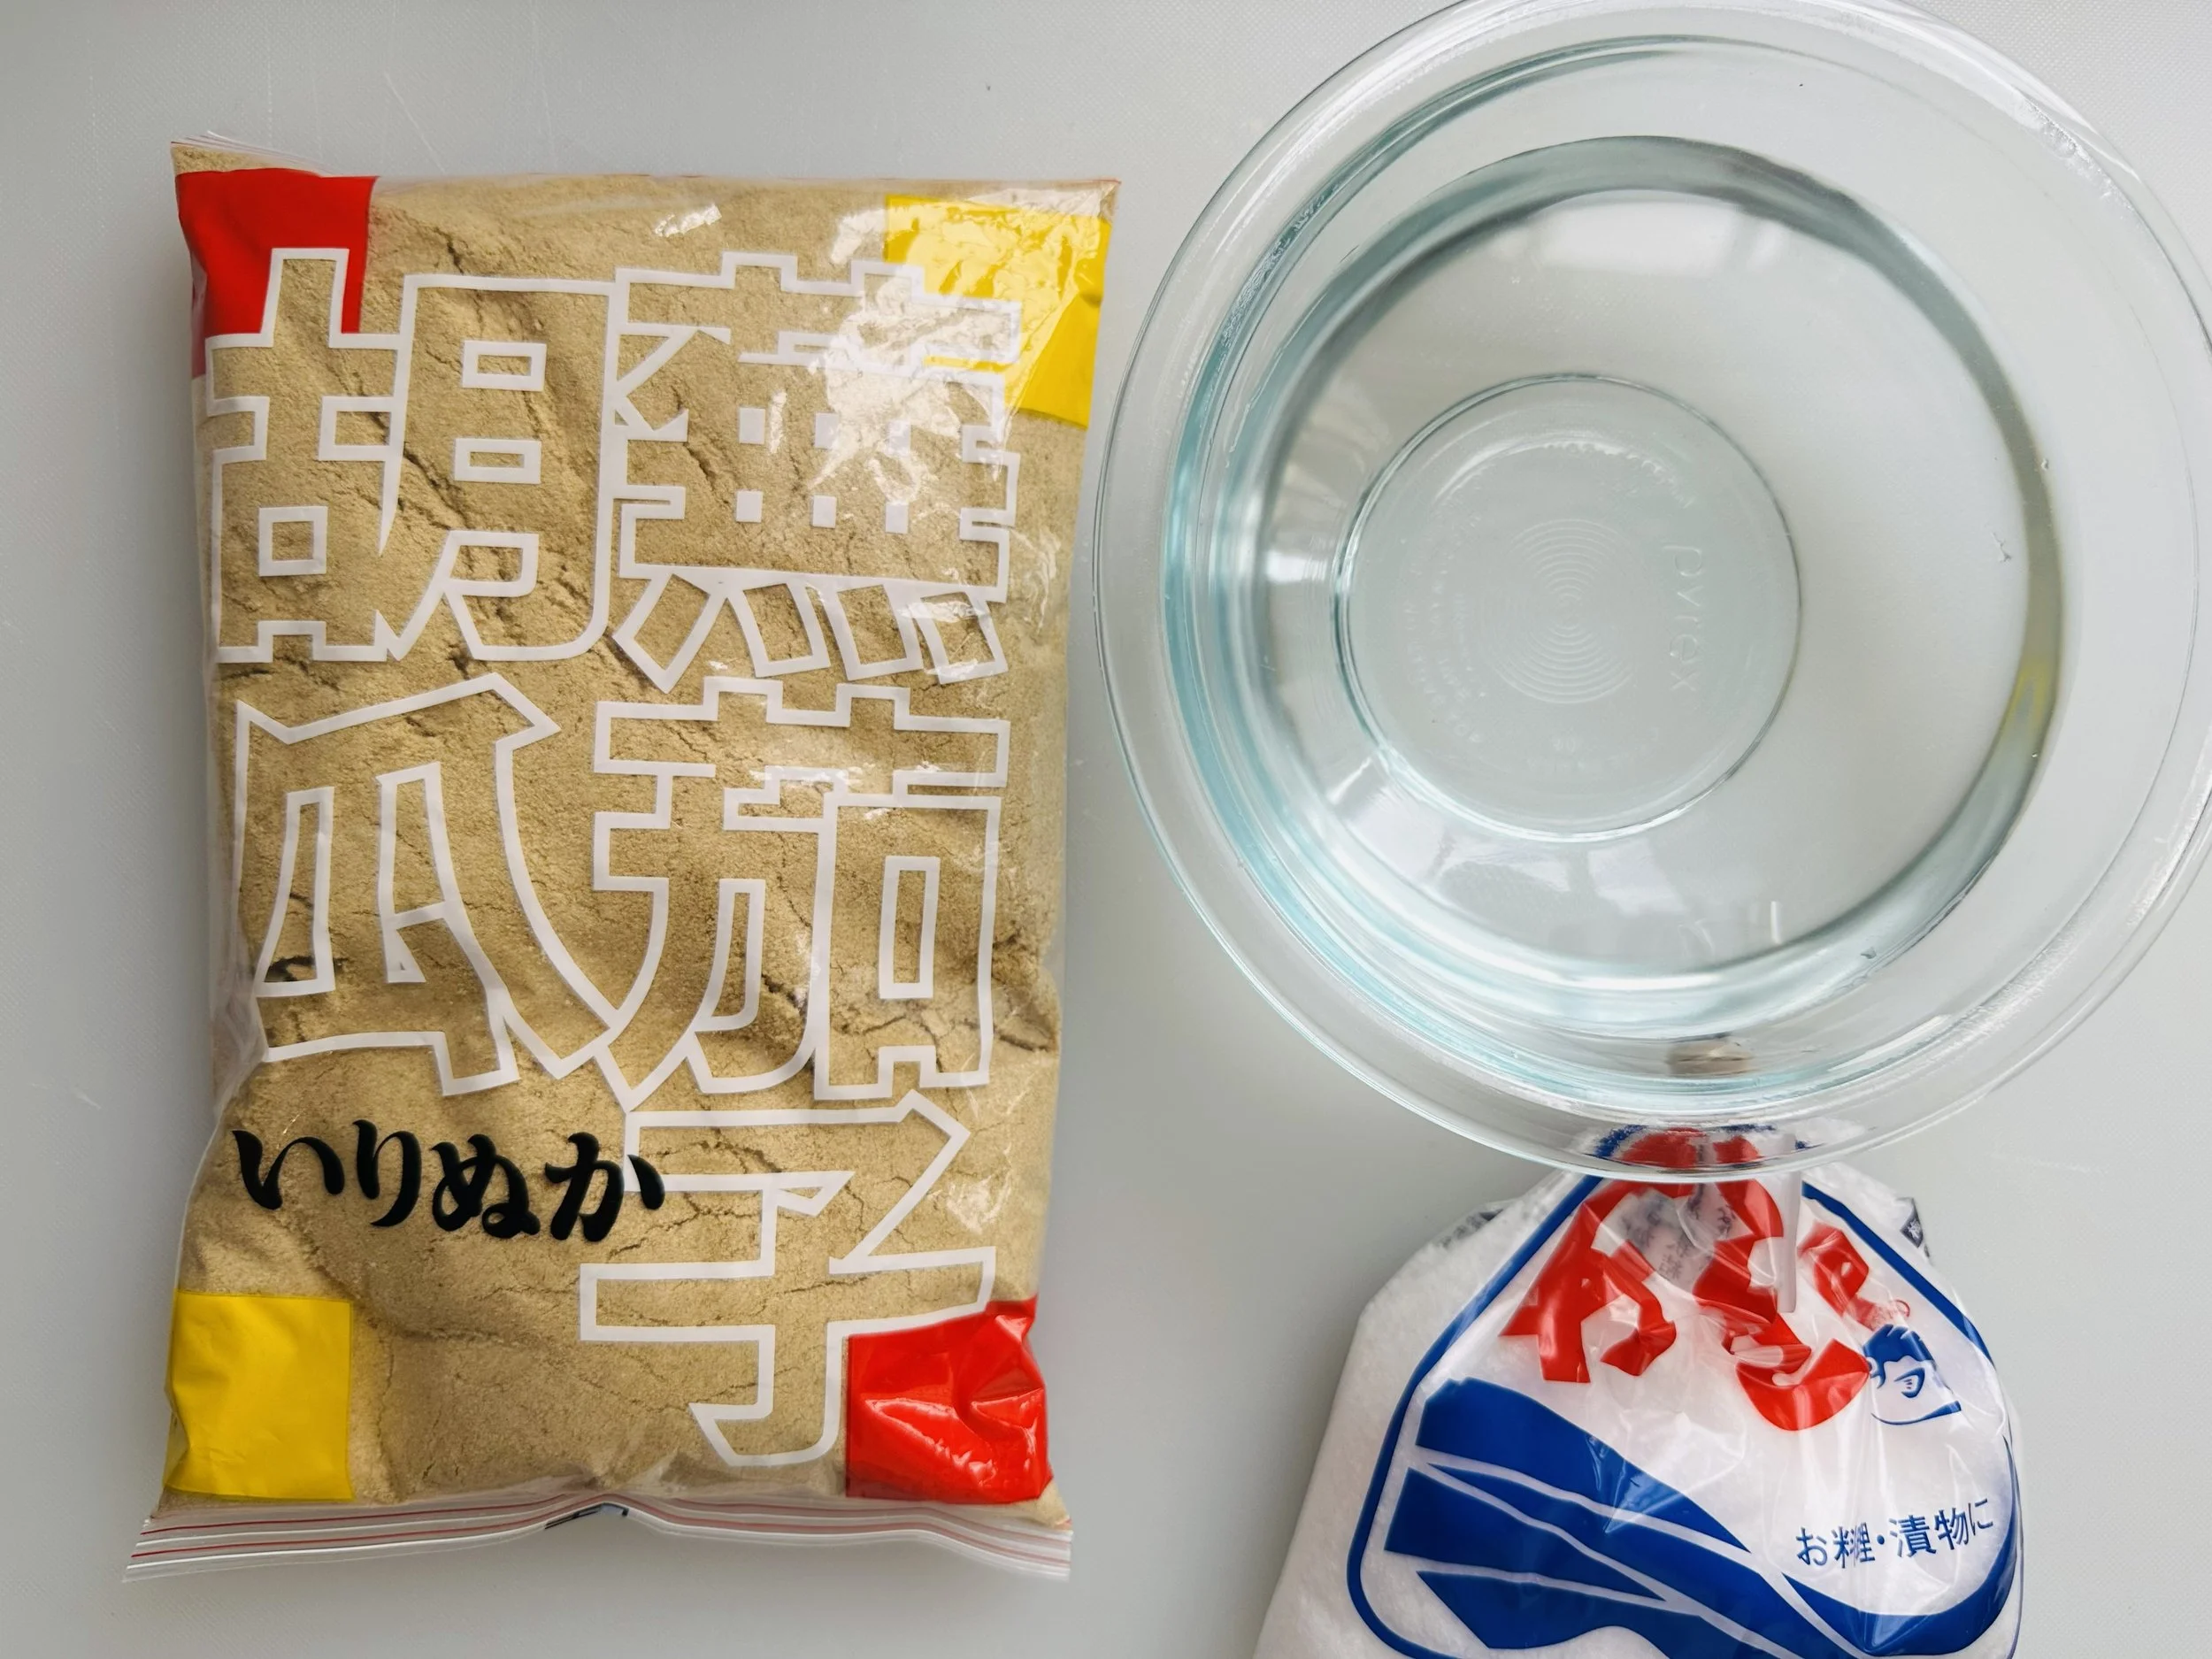
Nukadoko ingredients: Rice bran (nuka) in its packaging, sea salt, water
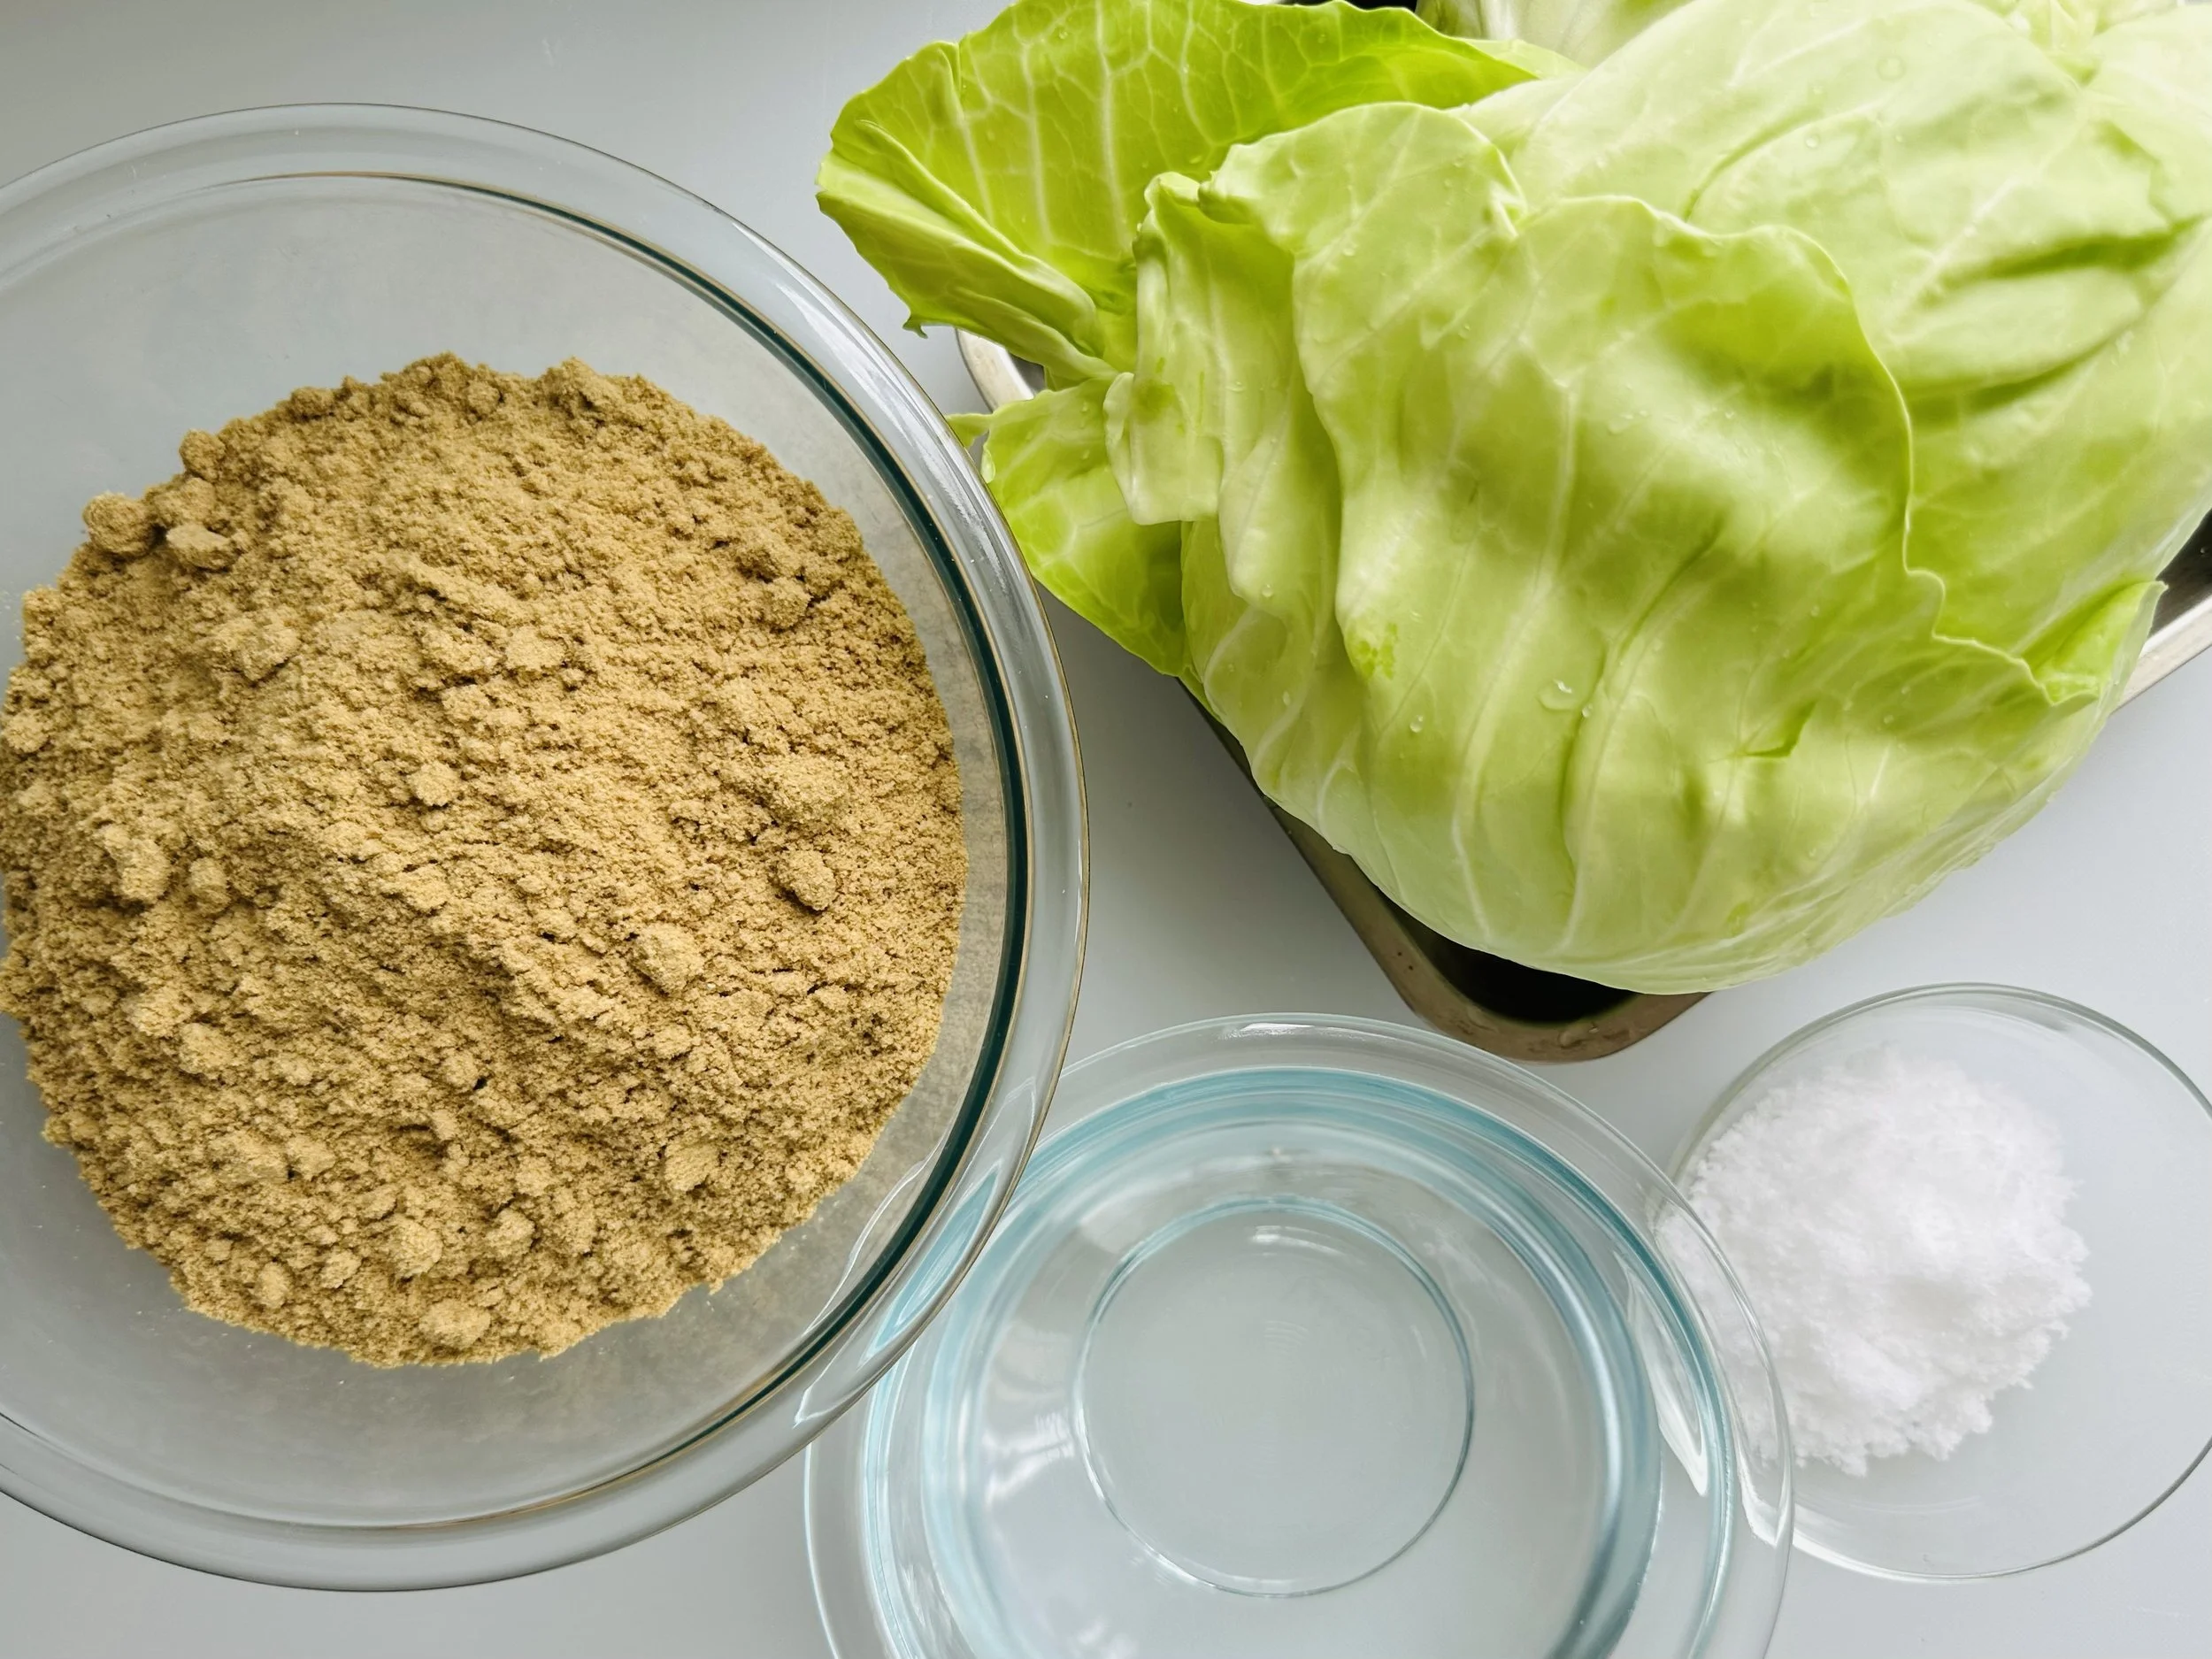
Nukadoko ingredients: Water, sea salt, and rice bran, and cabbage

Rice bran in a bowl next to 30+ year-old nukadoko

Day 1: Nukadoko pickling bed after mixing rice bran, sea salt, and water
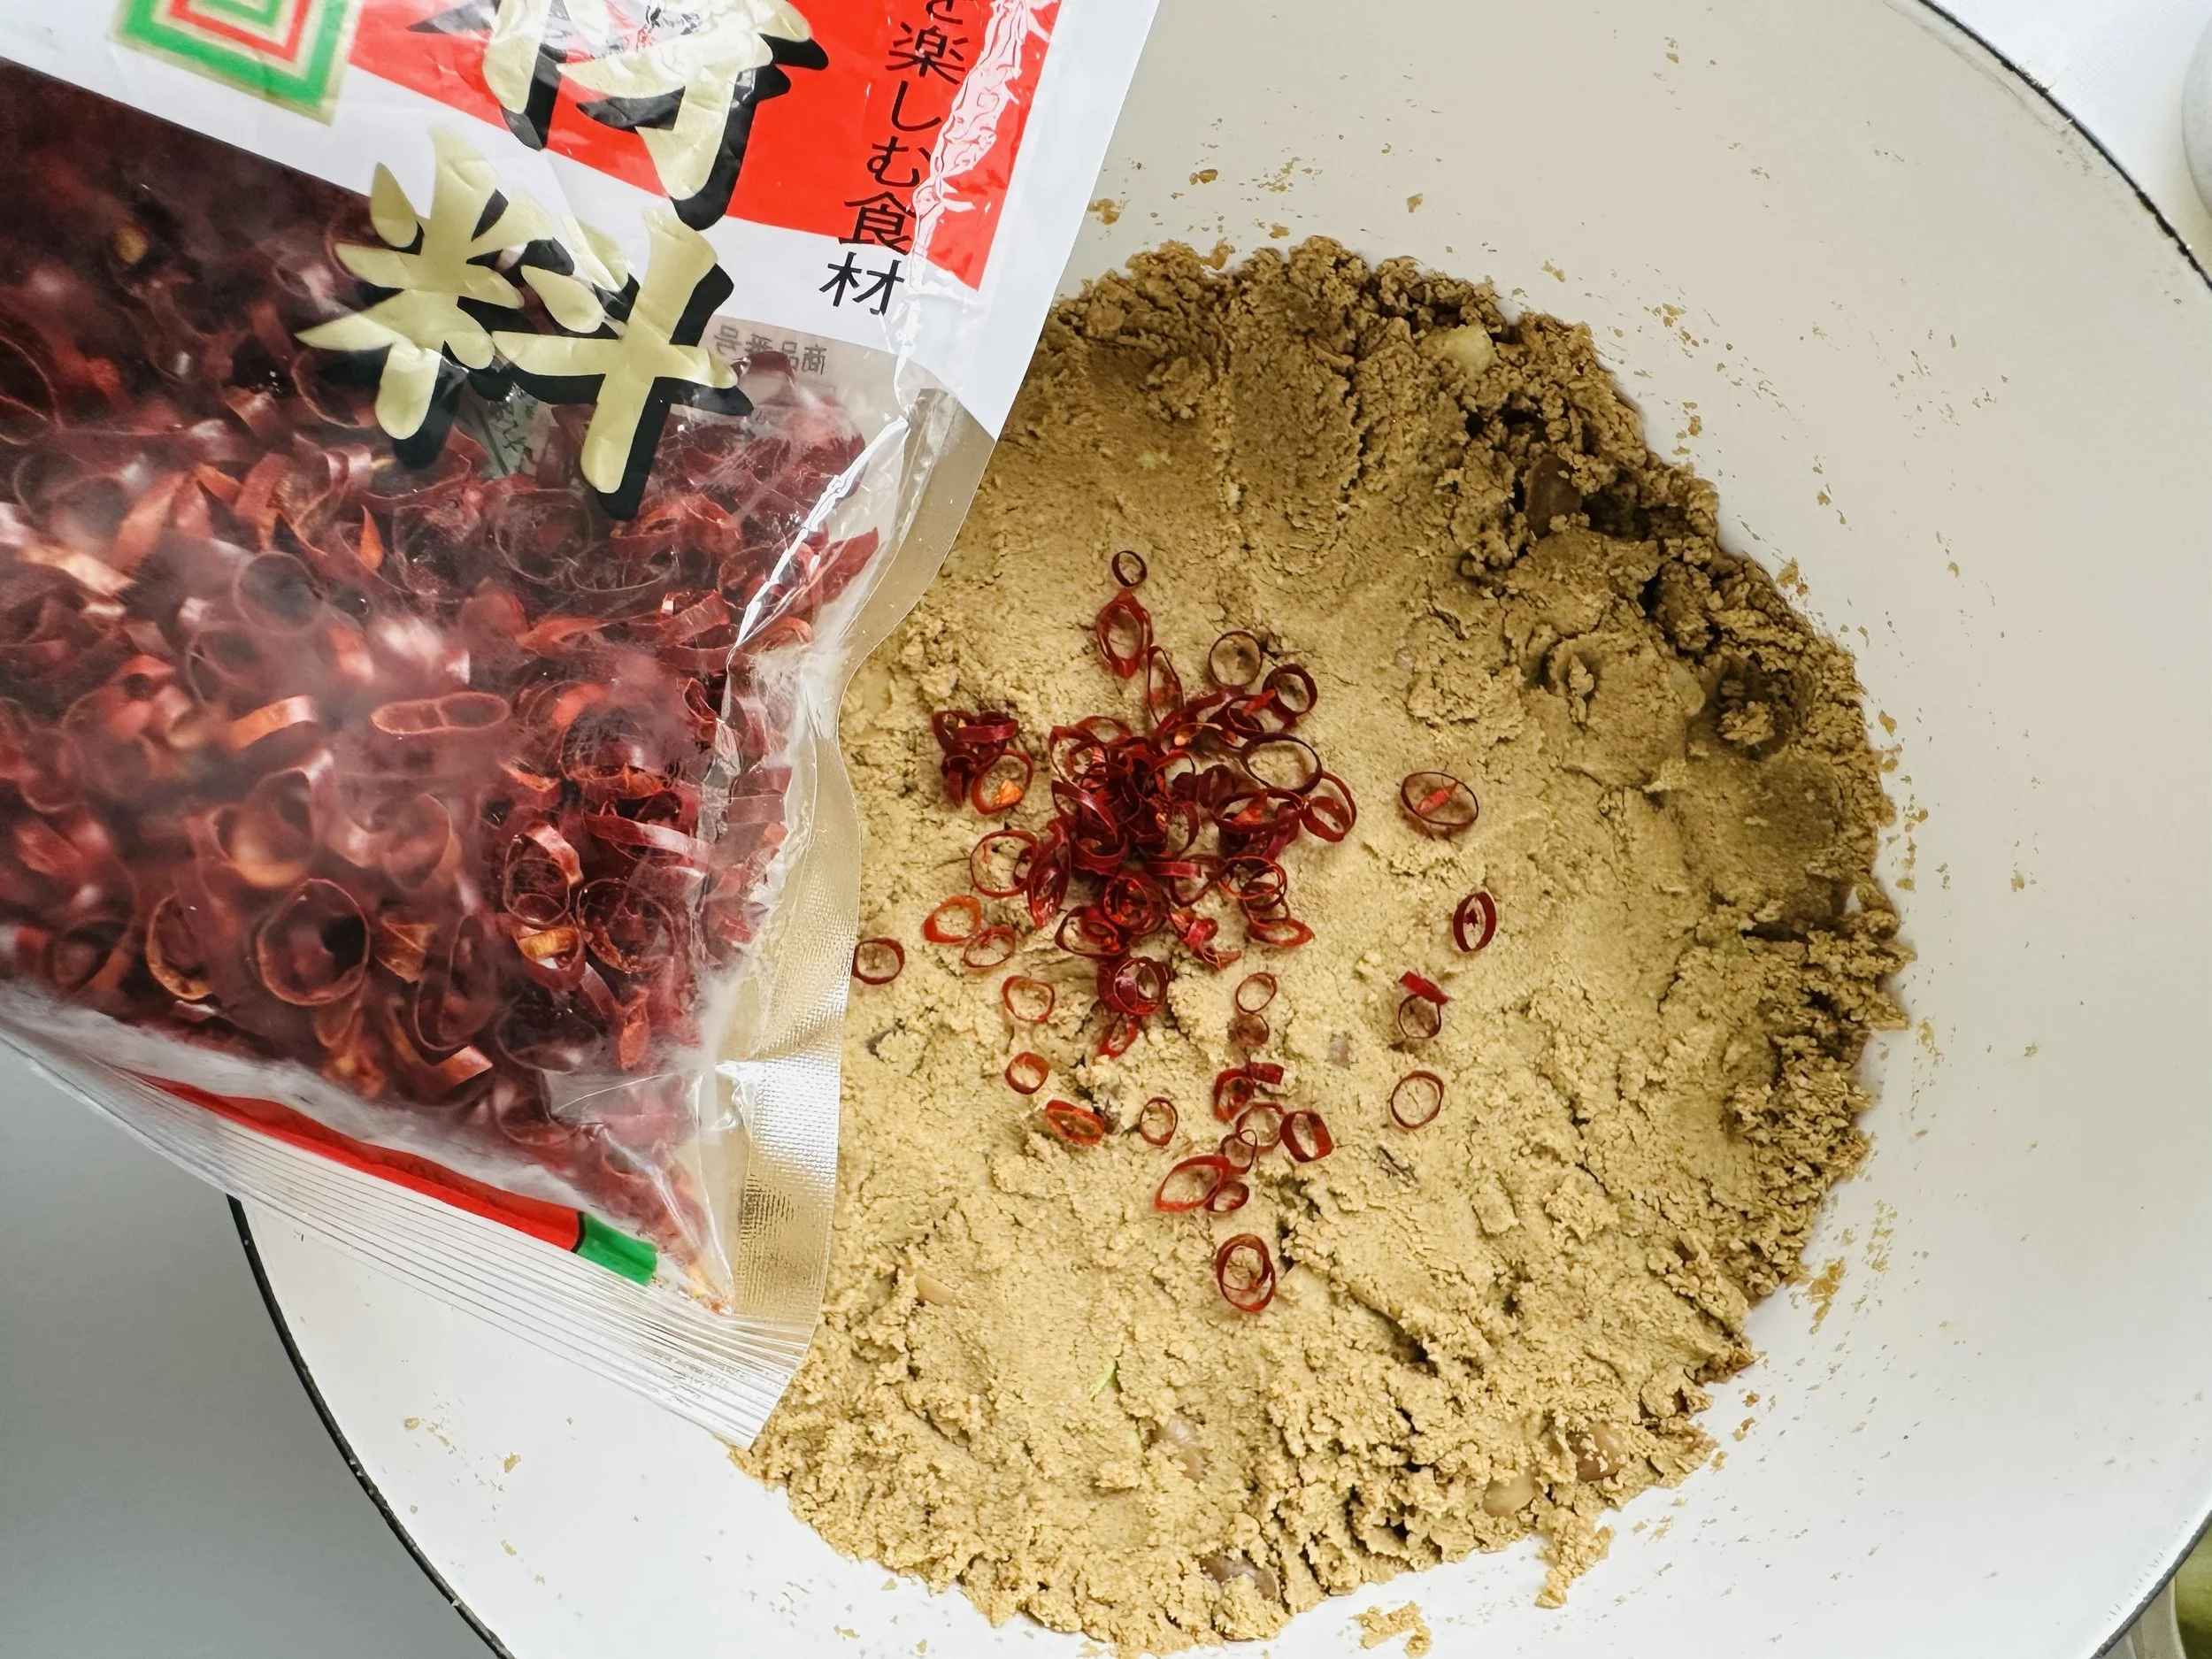
Day 1: Adding akatogarashi to the nukadoko
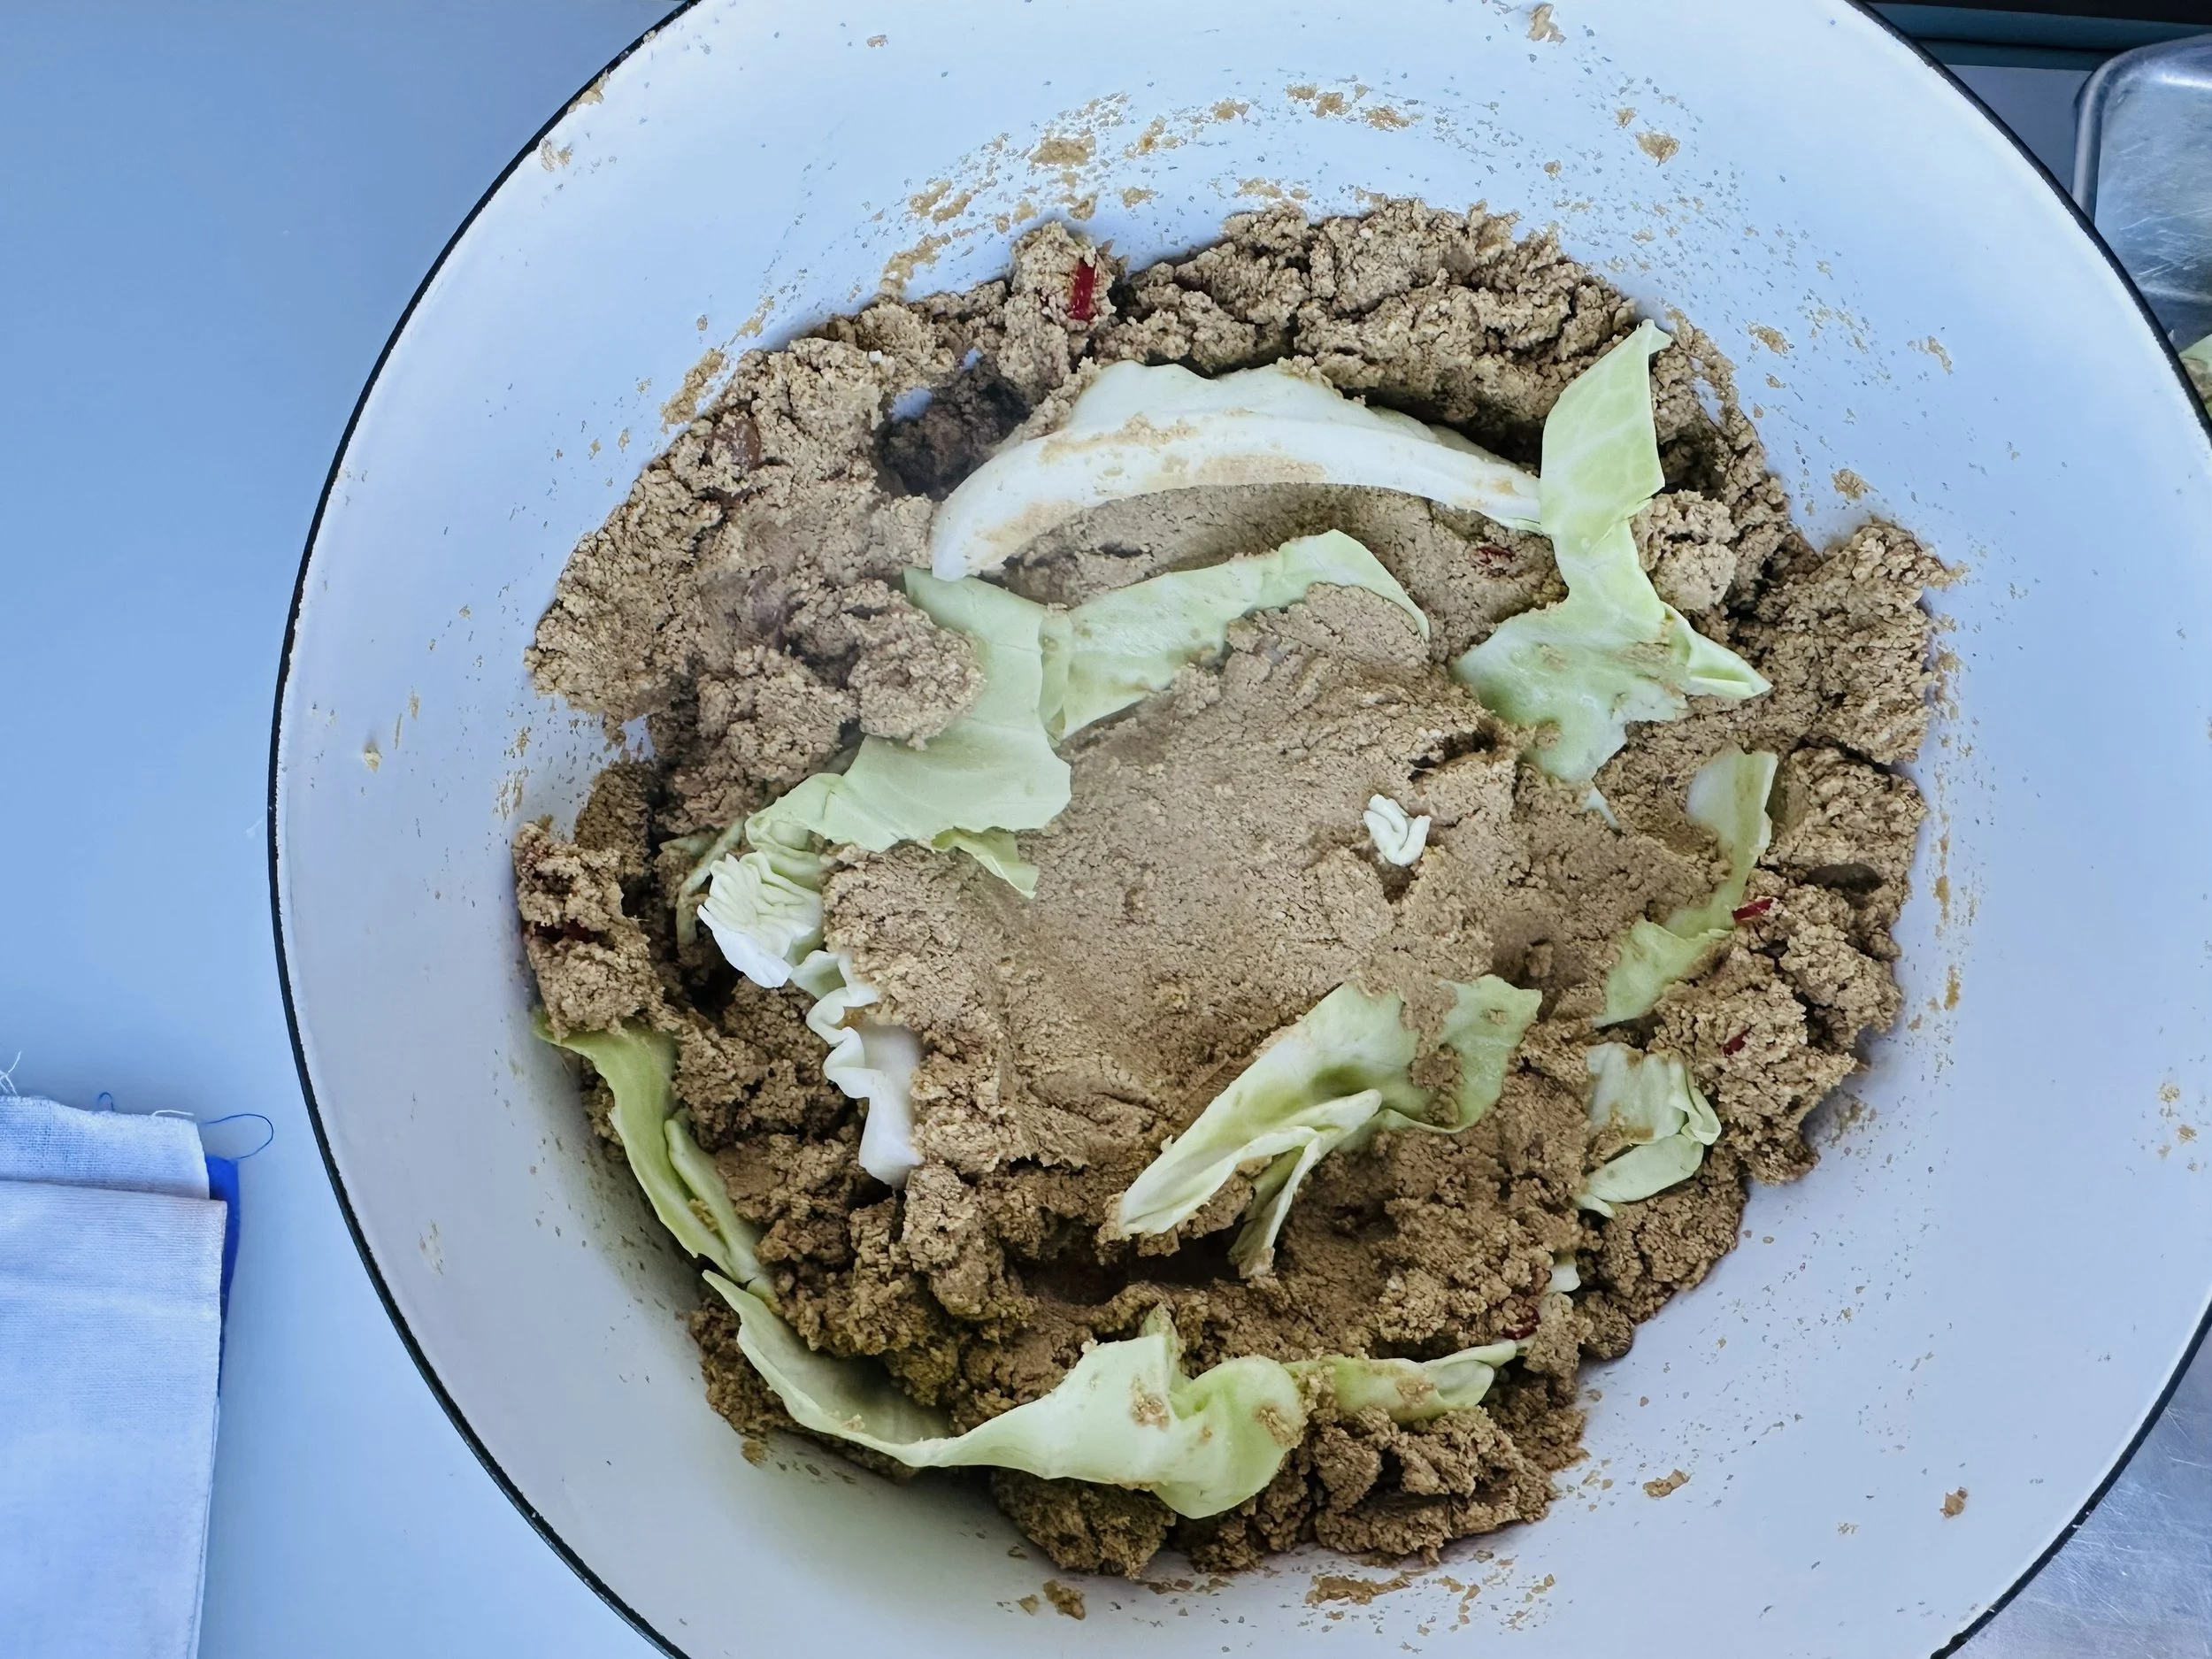
Day 1: Burying cabbage leaves in the nukadoko mixture

Day 3: Buried cabbage gets removed and discarded, and new cabbage buried

Day 5: Repetition day! Buried cabbage removed and discarded, and new cabbage buried. Repeat this process daily for 8 to 10 days.
Nukadoko Recipe
You’ll need about a 1‑gallon container—plastic, glass, or enamelware—with a well‑fitting lid for your nukadoko bed. A good substitute of the lid is a plate, as I use in my pickling container.
Ingredients
4 ¼ cups (1,000 g) water
4.58 ounces (130 g) sea salt
2.2 pounds (1,000 g) nuka, rice bran
4-inch x 4-inch kombu
2 whole akatogarashi, Japanese dried red chile pepper; cut off the top of the pepper and remove seeds
4 outer leaves of cabbage
Method:
Prepare the Salt Brine: Combine the salt and water in a medium pot. Bring to a boil, stirring until the salt fully dissolves.
Turn off the heat and let the brine cool completely before use.
Set Up the Pickling Container: Sanitize, rinse, and thoroughly dry a 1‑gallon plastic, glass, or enamelware container. Add the rice bran to the container. Pour in the cooled brine gradually, mixing with your hands until the texture resembles damp sand. Add the red chile pepper and kombu, mixing them evenly into the bed.
Begin the Starter Fermentation: Add the cabbage leaves and bury them completely in the mixture. Press the surface to release trapped air. Cover with a lid and store in a cool location. Cabbage leaves introduce beneficial microbes and help stabilize the bed.
Develop a Fermentation Bed: After 2 days, remove and discard the cabbage – they are too salty for consumption. Toss and turn the rice‑bran mixture from bottom to top. Add fresh cabbage leaves and bury them again.
Repeat this process daily for 8 to 10 days. By the end, the bed will smell pleasantly of lactic acid and yeast—the nukadoko is ready for pickling.
See “How to Pickle Vegetables” in the next section for directions.

Eggplant, radish, cucumber daikon in a nukadoko mixture
How to Pickle Vegetables
Rinse the vegetables – cucumber, carrot, zucchini, daikon radish, turnip, eggplant, tomato, etc. Most vegetables, including beetroot and onion, can be pickled in nukadoko, but they will inevitably tint the bed and influence its fragrance. Peel the vegetables, such as carrots and daikon radish.
Rub the vegetables with 2% of salt by the weight of the vegetables.
Bury the vegetables with the salt in the nukadoko pickling bed (made using the instructions above).
Give 3 to 6 hours. Small, peeled vegetables pickle quicker than large, unpeeled whole vegetables. Test and find your favorite pickling flavor.
Nukadoko Management
Stir the Nukadoko Daily: Oxygenation prevents anaerobic spoilage and maintains microbial balance.
Mix the nukadoko from the bottom up once a day with your clean hand.
Maintain Proper Temperature: Temperature control keeps lactic acid bacteria active and stable. Ideal temperature: 68–77°F (20–25°C). If your kitchen exceeds this range, refrigerate the container to slow fermentation.
Adjust Moisture and Salt: Vegetables release water into the bed, requiring periodic re-balancing.
Add additional rice bran as needed to maintain a soft, sandy texture. Add salt at 13% of the weight of the added rice bran. Mix thoroughly to distribute salt evenly.

Nukadoko vegetables rinsed and ready to eat!